Tüstü
Create a new composition. Click on “Fayl” and then “Էջում `ZRY”. Select “HDV/HDTV 720 29.97″ və “20 sec.” in the menu dropdown. Type the name that you want to allow the composition. Click on “OK”.
2
Click on “Layer” and then “Էջում `ZRY” and then “solid” in the menu at the top of the screen. This will bring up a new window.
3
Click on the button allows “Make Comp” in the new window. Select “Black” color palette that appears. Type the name that you want to allow the layer in the name box. Click on “OK”.
4
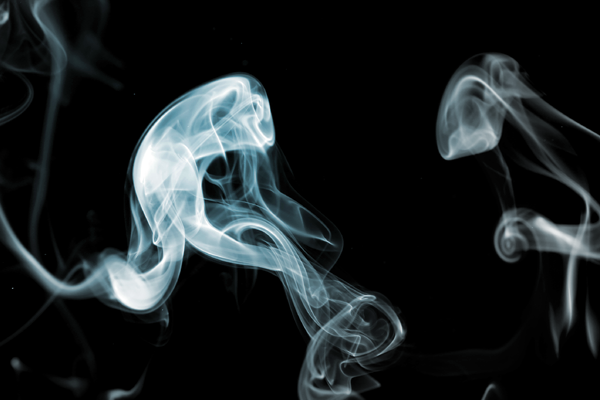
Click “Effect” and then “noise & Grain” və “Fractal noise” in the control panel for the “effects” on the workspace. This will create a smoke screen image and open a new window.
5
Implement smoke animation effects by dragging the slider in the “Contrast” option to 140, the “Complexity” option to 12 and the “grandeur” 160 in the option “processing”.
6
Animate smoke. Click on the “Ellipse” tool in the tool palette. This tool looks like an oval. Click on the workspace and hold down your mouse button to drag on the ellipse on the whole area of smoke. Right-click in the timeline to 1 second, and then select “Insert keyframe.” Click on the ellipse and drag slightly. Right-click in the timeline to 4 seconds, and then enter another key image using the same technique used to 1 second. The smoke will now have an effect to move to and from the place where you drag the ellipse. Repeat this procedure for each trip that you want to smoke to make adding and adjusting multiple keyframes along the timeline.
7
Animate the opacity of smoke to give the impression to spend more that simply animate the motion. Click the keyframe at 1 second on the calendar. Drag the control of the “Opacity” slide in “0%”. Insert a key frame to 2 seconds. Click on this key frame after that it appears on the calendar. Drag the control of the “Opacity” slide in “100%”. Click the keyframe to 4 seconds. Drag the “Opacity” control to “0%”. The smoke will now have an effect of decolorization and output. Repeat this process with several keyframes along the timeline to develop more effects discoloration. Opacity can also be moved to any level that you want.
Avtomatik tərəfindən Footer Post Footer Plugin yazı əlavə et WordPress üçün.
Gelen axtarış sözü:
- after effects fumaça (3)
- ae 煙 (2)
- làm khói trong cs5 (2)
- photoshop cs5 煙 (2)
- photoshop free cs5 download (2)
- photoshop fumée (2)
- aftereffects 煙 free (2)
- tạo khói trong phốthop (2)
- ภาพเคลื่อนไหวบุหรี่ (2)
- تنزيل تاثير دخان افتر افكتس (1)